

Editor’s Note: This story has been updated from the Winter 2026 for March Break 2026
March Break and freshly fallen snow in the nation’s capital? Yes, please!
Whether you are looking for a low-key March Break activity or just want to step outside your back door or head out to the local park for some fresh air and wholesome playtime, we have some ideas for you.
Get ready, get set (find the perfect snowsuit)
When it comes to enjoying the outdoors, preparation is key. Ensure your little ones are dressed for the weather.
We love these functional and fashionable parka snowsuits for kids ages two to 10 years from Miles The Label. Designed for extreme cold like the kind we experience in the National Capital Region, these pieces keep the kids protected while chasing snowflakes, building snow forts, or racing down hills.
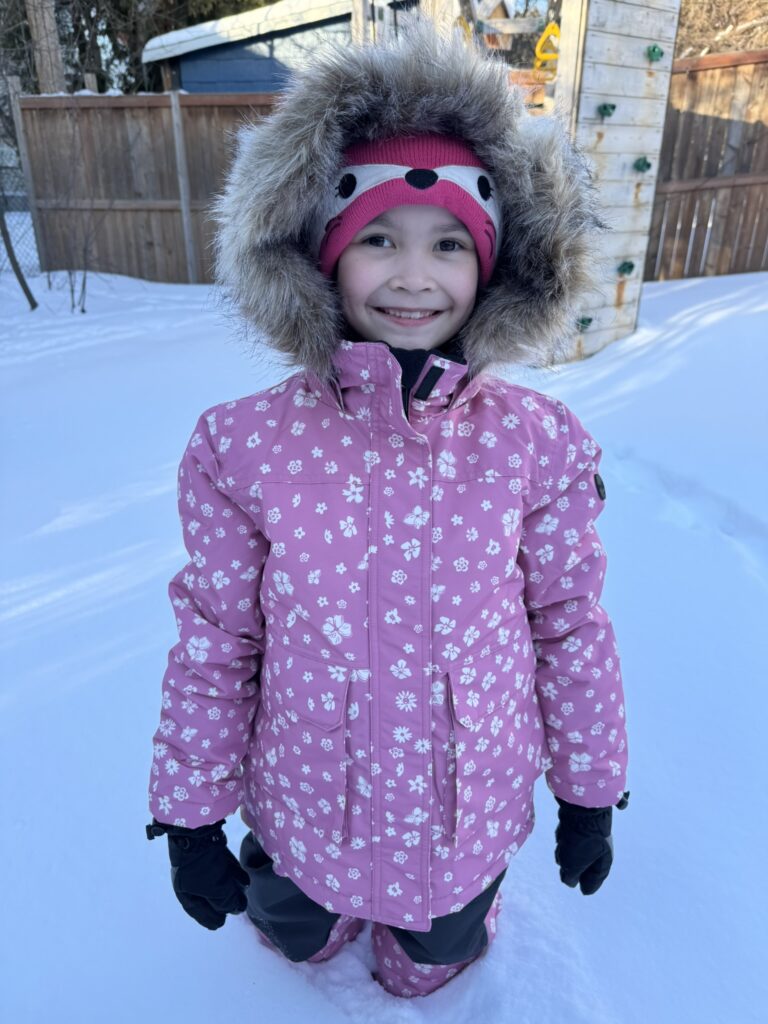
Miles the Label features a removable faux-fur hood. Photo Credit Tracey Tong
The jackets feature removable faux-fur hoods (perfect for less frigid winter days or more active sports where hoods might be more of a hindrance than a help), thumbhole Lycra cuffs (to provide extra warmth to hands), a snow guard, and a powder skirt.
Miles The Label’s snow pants are made to grow with children – perfect for mid-season growth spurts and families looking to stretch clothing budgets.
Features include adjustable suspenders, waist, and leg lengths, plus a removable back bib for different style options. Reinforced knees and seat make the pants stand up to the most active kids. Storm cuffs with anti-slip elastic keep snow from sneaking next to the skin.
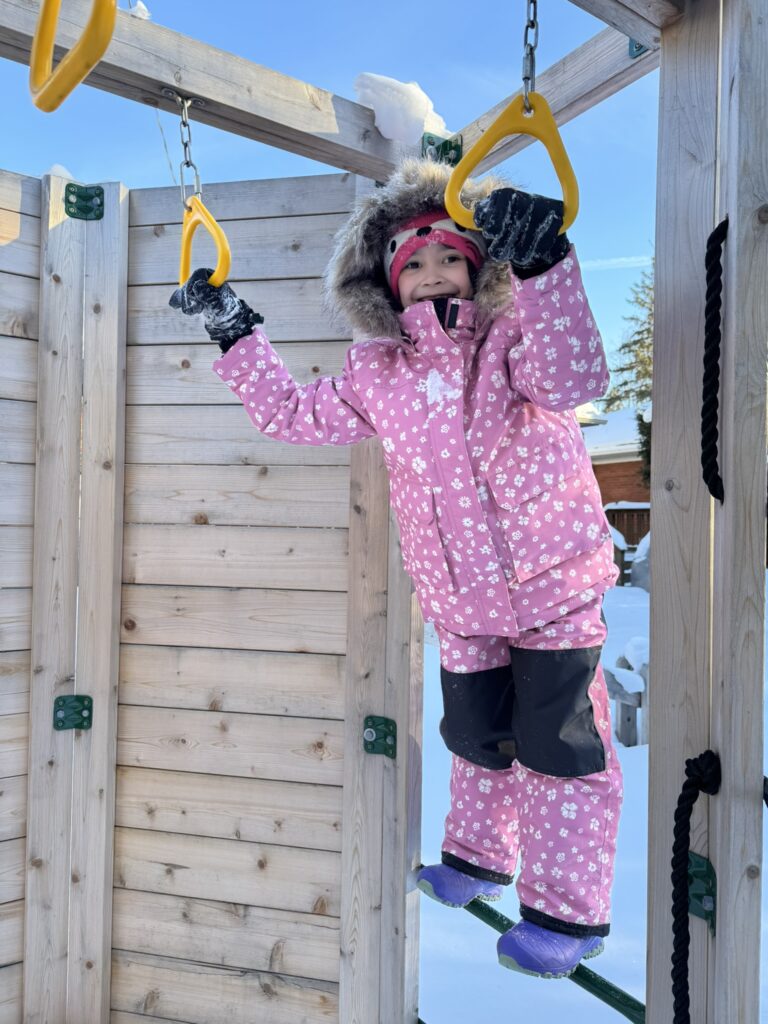
Reinforced knees make the snowsuit stand up to active play. Photo Credit Tracey Tong
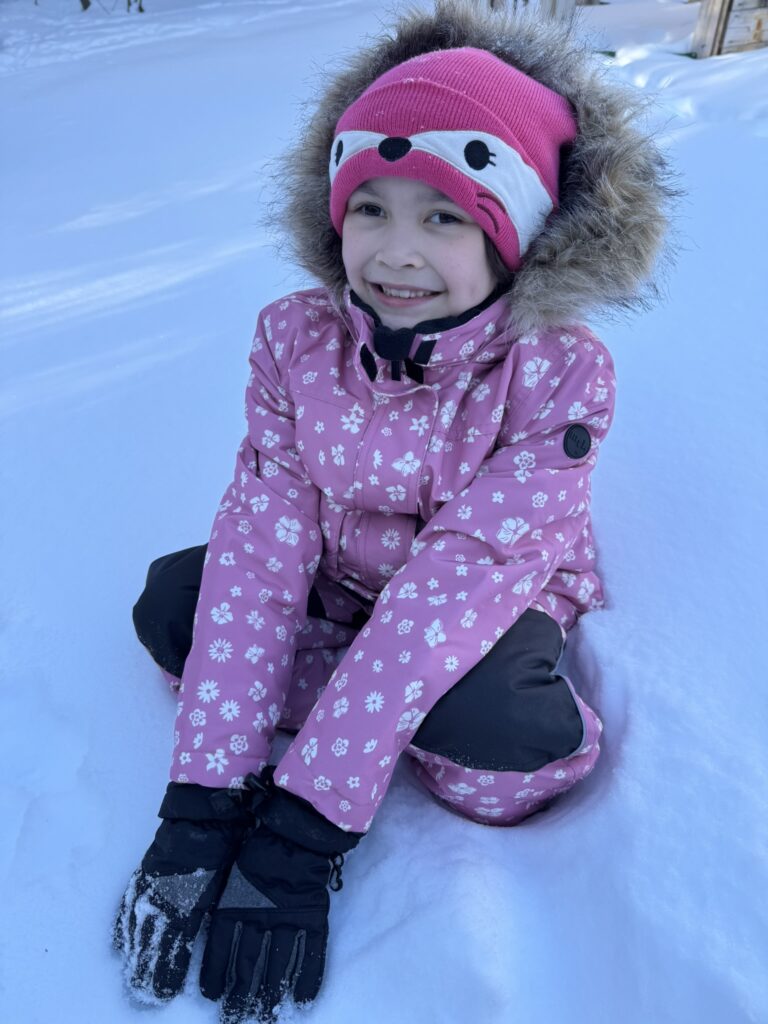
Had fun? Regardness of snowsuit brand, ensure you dry it out throughly after each use. Photo Credit Tracey Tong
Storage tip: Regardless of the outerwear you choose for your child, thoroughly dry out the snowsuit after each wear and when winter is over, don’t forget to properly clean (follow the care label) and dry the snowsuit before packing it away for the next year.
Do you want to build a snowman?
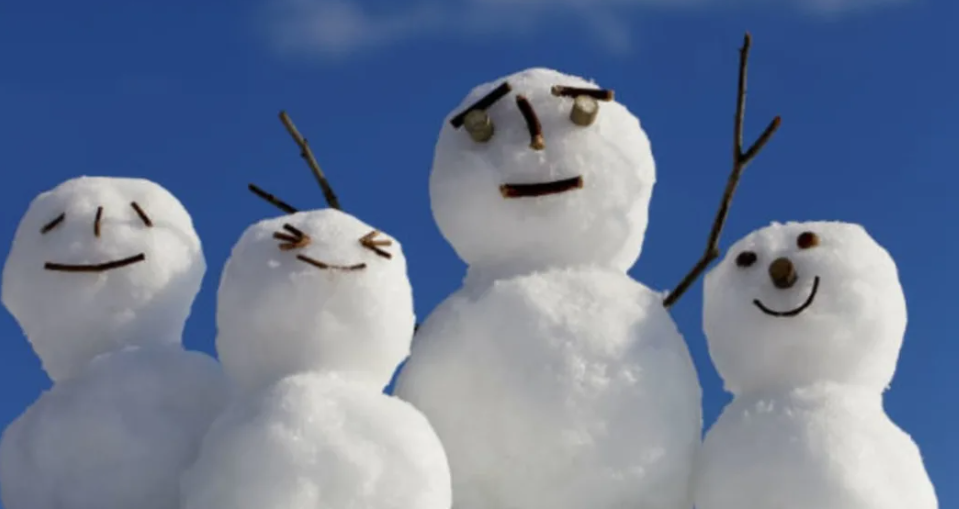
Build your snow people in the shade to protect them from sun and the elements. Photo Credit iStock
Of course they do! Kids can channel their inner Elsa and Anna with their very own Olaf with these easy tips.
First, find the right place for the snowman. Choose a flat spot on your property in the shade – as the temperature rises, the snowman is more likely to last.
There are two basic types of snow: dry and powdery and wet and slushy. The ideal snowman snow is somewhere in between (the water acts as glue) but don’t worry if the snow you have to work with is on the drier side. You can make your ideal snow with a little water, which will help stick the ice crystals together. Using your hose or a spray bottle, very lightly mist the area of snow you will be using.
To create the base, roll a small snowball in your hands before moving it to the ground. The key is to start with a good snowball in hand. Change rolling directions frequently to make it a perfect sphere. This will be the body. If you wish, build a snow base around the bottom to make it more stable.
Repeat twice more to create incrementally smaller balls for the middle and the head.
Before stacking the balls, gently flatten (without pressing too hard) the tops of the base and middle balls for added stability. Use snow to fill in the gaps between balls.
Now it’s time to dress the snowman! Gather sticks for the arms and use an old hat and scarf to decorate. Other pieces include a carrot for the nose, buttons and pebbles for eyes, mouth and buttons.
The last step is to weatherproof your snowman. Spritzing the snowman with cold water will create a protective shell next time the temperatures fall. Spritz it every time it dips below freezing and your child’s snow friend will last all season.
Make the perfect hot chocolate
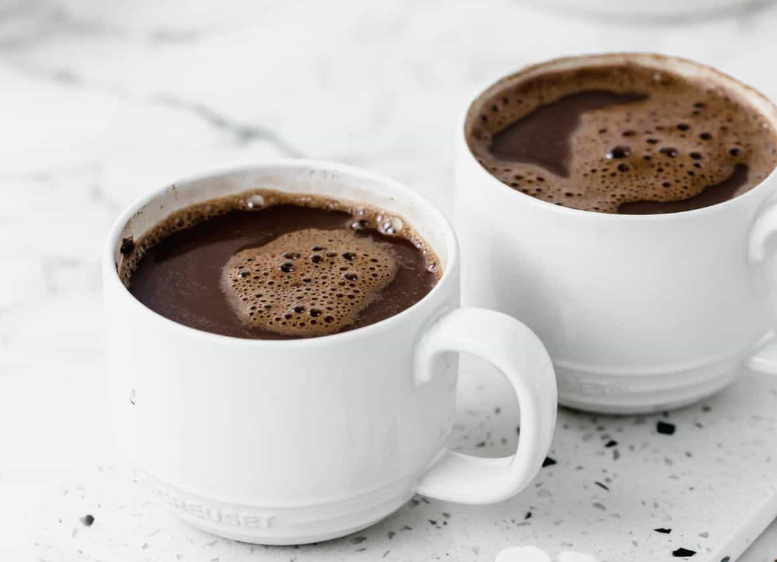
Hot chocolate can be plain…. Photo Credit iStock
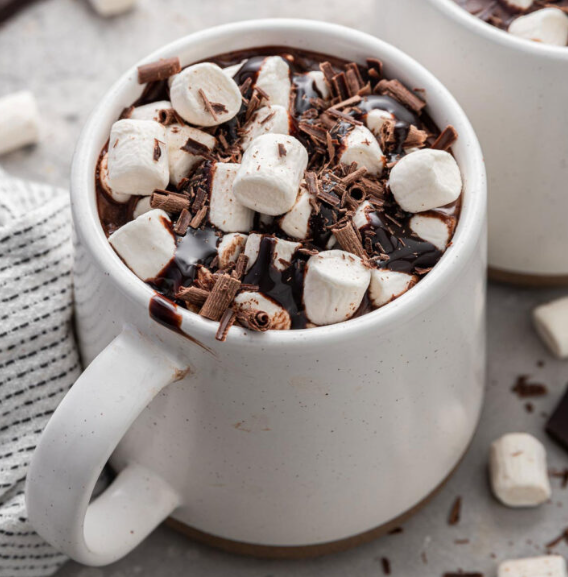
… or fancy. Photo Credit iStock
When the kids are worn out and ready to come in (with a perfect snowsuit and great snowman snow, this might not be for hours!) greet them with the perfect seasonal beverage.
While there are plenty of ready-made hot chocolate mixes on the market – and certainly, these are great for stocking the pantry for a low-effort treat – nothing says love like homemade hot chocolate made from scratch when time allows.
The best hot chocolate uses a mix of high-quality chopped bittersweet chocolate (60 to 70 per cent cacao), whole milk, heavy cream, cocoa powder, sugar, vanilla, and a pinch of salt.
Heat gently on the stove, whisking until smooth and creamy. Feeling fancy? Amp it up with whipped cream and a spoonful of mini marshmallows.
Ready to give it a try?
Step-by-step instructions to make the creamiest hot chocolate ever (Serves two big people or three little people)
You need:
1.5 cups whole milk
1/4 cup heavy cream or half-and-half
4 oz (approx. 1/2 cup) finely chopped dark or semi-sweet chocolate
1-2 tbsp unsweetened cocoa powder
1-2 tbsp brown sugar or granulated sugar
1/4 tsp vanilla extract
pinch of salt
Instructions
- Combine liquids and dry ingredients. In a small saucepan over medium heat, whisk together the milk, cream, cocoa powder, sugar, and salt.
- Heat it. Bring the mixture to a gentle simmer, but do not boil.
- Melt chocolate. Reduce heat to low, add the chopped chocolate, and whisk constantly until completely melted and smooth.
- Finish and serve. Remove from heat, stir in the vanilla extract, and pour into mugs.
- Enjoy!
-30-